Introduced in Windows 7, the Windows Explorer Quick Access is an option that allows users to pin folders as well as see recent history in Windows Explorer.
Chances are you’ve been using Quick Access without even knowing it. Every time you open a Windows Explorer window, you’ll find Quick Access in three places.
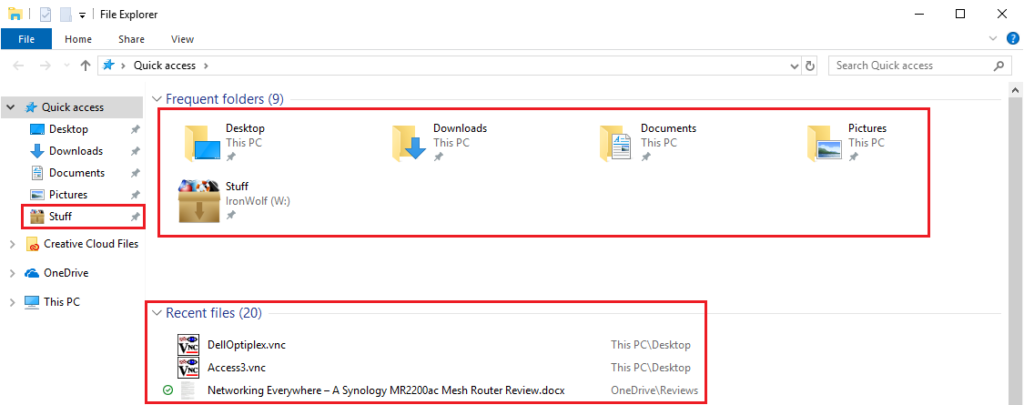
In the picture above, you will notice that in the left-hand pane is your typical “quick access”. You can pin folders to this area so they are readily available whenever you open Windows Explorer. Next, you have your Frequent folders and Recent files. These are folders and files that Windows Explorer recognizes that you use often or recently.
If you are an avid user of Quick Access, you’ll know that moving to a new computer can be tough as there isn’t a friendly Windows-official way to export these settings. Luckily, a few steps can copy over all of these settings to your brand-new computer.
This guide is written for Windows 10 1809.
Backing up and Restoring Quick Access
Steps 1 and 2 are purely informational, they are not required to backup and restore Quick Access.
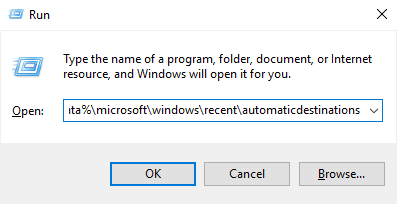
1. On the primary computer with the Quick Access to be backed up, press the Windows Key + R to open Run.
2. Enter the following path into the prompt and click OK.
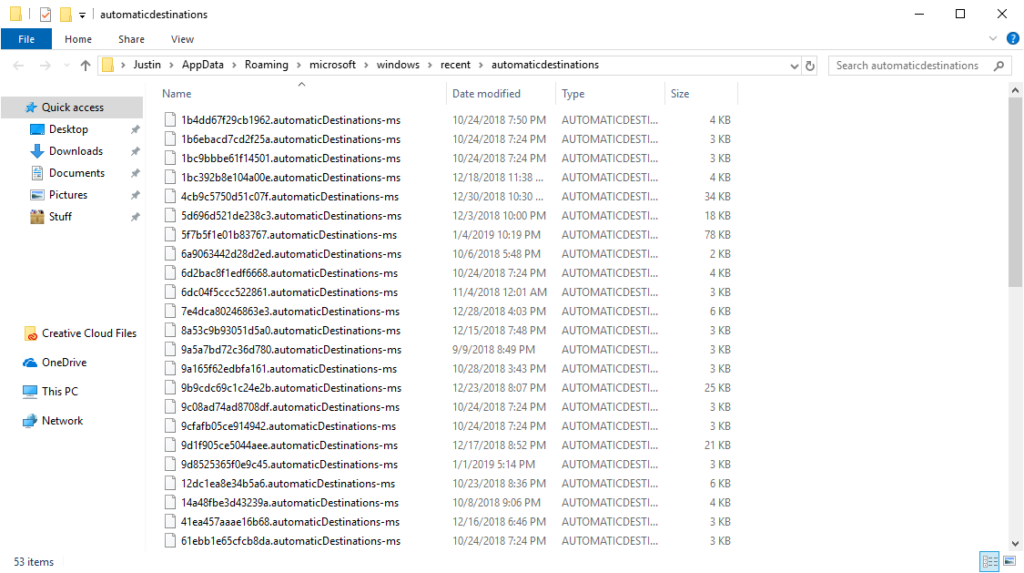
%appdata%\microsoft\windows\recent\automaticdestinations
a. It is important that you do NOT edit or add files to this file location. Doing so will immediately reset Windows Quick Access, restoring it back to default and causing you to lose all current Quick Access settings.
b. This file path is hidden in Windows, even if Windows Explorer is enabled to show hidden files and folders.
3. On the root of your C:\ drive, create a new folder called TempQA.
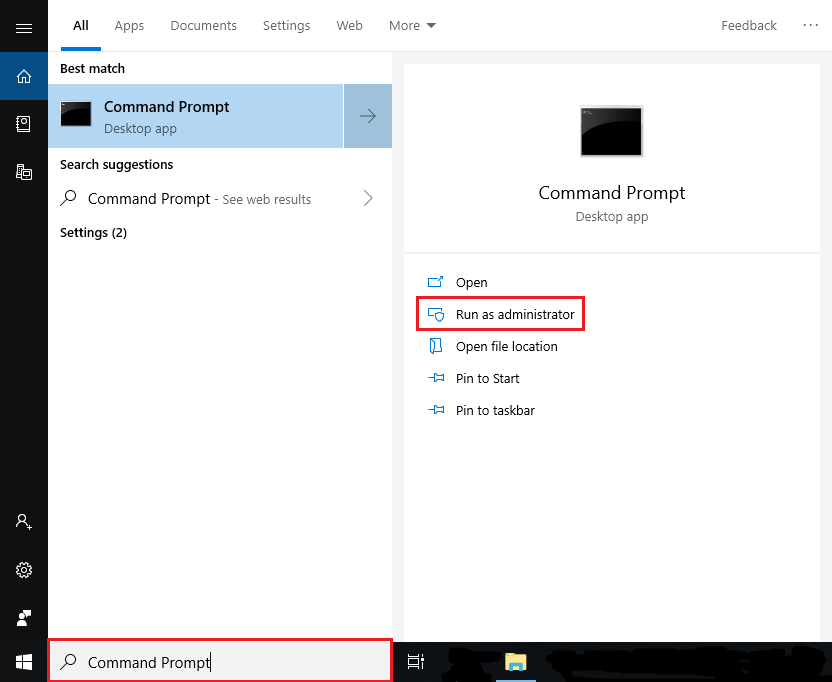
4. Next, open an elevated command prompt window and enter the following command.
robocopy %appdata%\microsoft\windows\recent\automaticdestinations "C:\TempQA"
5. Inside the previously created TempQA folder, all of Quick Access has now been successfully backed up into this folder.
6. If the goal is to move all of your Quick Access settings to a new computer, copy the TempQA folder to the C:\ drive of the new computer. Otherwise, leave it where it is on the original computer.
7. To restore Quick Access, open an elevated command prompt window and enter the following command.
robocopy "C:\TempQA" %appdata%\microsoft\windows\recent\automaticdestinations *.automaticDestinations-ms
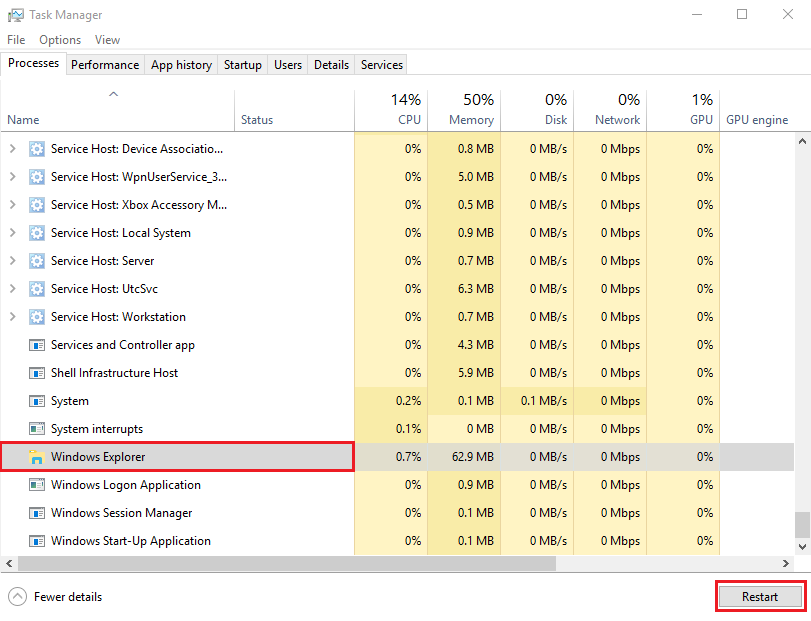
8. Open Task Manager and locate Windows Explorer in the list. Highlight the process and press the Restart button to restart Windows Explorer.
9. Afterwards, open Windows Explorer and your Quick Access folders, files, and history should now have been restored.
© 2019 Justin Vendette

