TeamViewer is a remote-desktop sharing application for both Windows and Mac computers. By establishing an encrypted internet connection between a host computer and the connecter, TeamViewer will allow either yourself or a remote person access the host computer through the internet.
For security, TeamViewer requires the connecter to receive a unique user ID and password from the host computer before a connection can be established. Without these two pieces from the host computer, the connecter may never connect.
It is important that you only provide your user ID and password to those you know or to trusted American service technicians. Do not provide TeamViewer details to people you do not trust.
Standard Installation
1. Using your preferred web browser, navigate to https://www.teamviewer.us/
2. Once the TeamViewer website has loaded, click the green Download Now button.

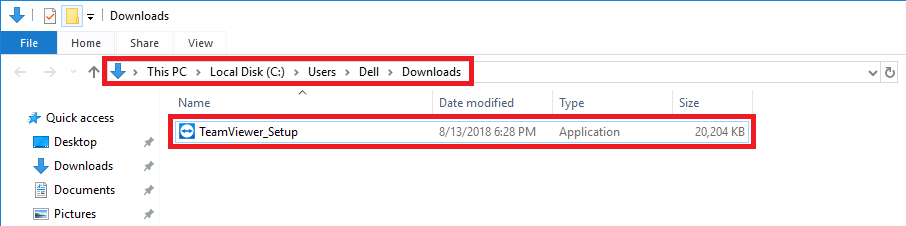
3. TeamViewer will initiate a download through your browser. Save the file to a preferred location on your computer. Open that location and double click on the installer.
4. When the TeamViewer installer starts, the following installation type depending on your requirements.
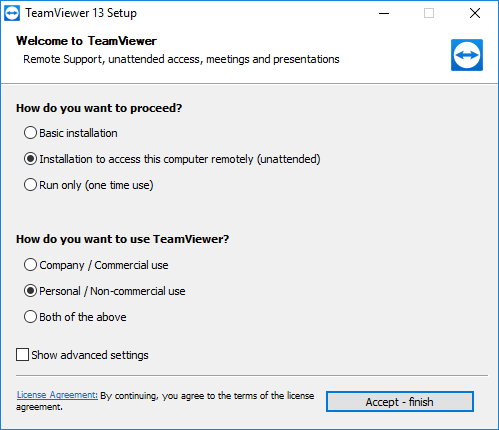
a. A Basic installation will create a unique user ID for your system and after every restart of the PC, the password will change. This is for one-time or quick connections to the computer.
b. Installation to access this computer remotely (unattended) is designed for both personal and service use. A unique user ID is created and the connection password will remain static. You can provide both the user ID and static password and as long as TeamViewer is running, the connector can connect. This can be ideal for service technicians who may restart your computer multiple times.
c. Run only (one time use) is designated for a one-time connection only and for connectors who will not restart the computer.
5. Select to use TeamViewer as the appropriate use case. TeamViewer is free to use for Personal / Non-Commercial Use for the host machine.
6. Accept the ULA and finish the installation.
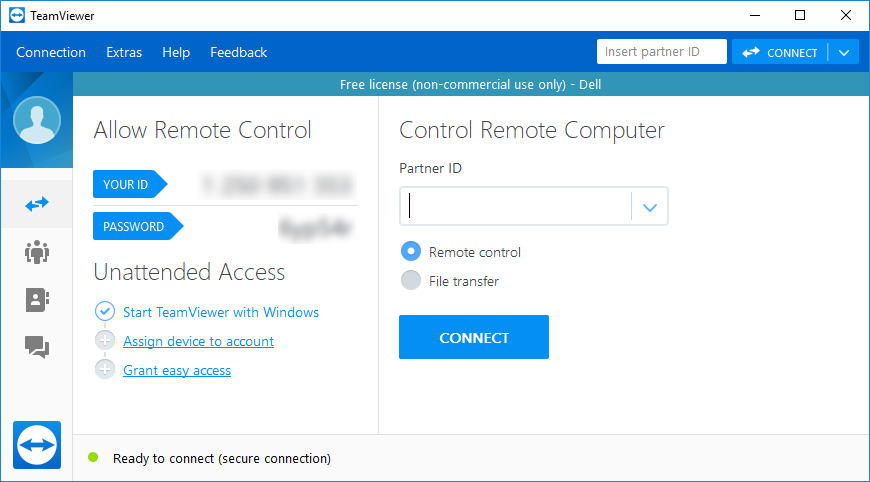
7. If you have selected a Basic Installation, TeamViewer is ready to go! Simply provide someone or use your unique user ID and password. Remember that after a computer restart, the connector will not be able to reconnect to your computer unless the new password has been provided.
Unattended Installation
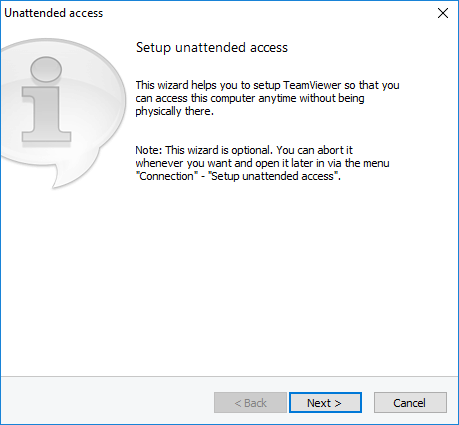
1. Whether you chose to originally initiate an unattended access installation or decide to set one up later, the following will configure such a connection.
2. In the initial Setup unattended access prompt, click the Next button to begin.
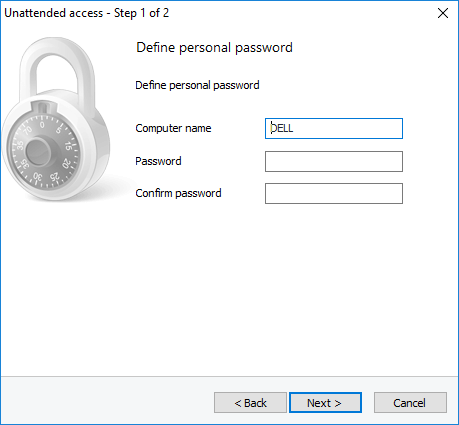
3. Enter your computer’s name, followed by a unique and secure password of your choosing. Click Next to continue.
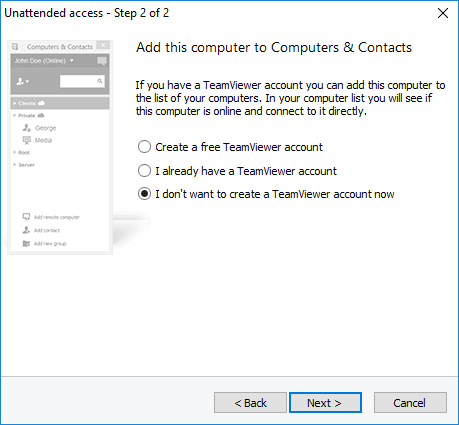
4. When asked to create a TeamViewer account, either create an account or opt out of the program. Click Next to continue.
5. Finally, select the Finish button.
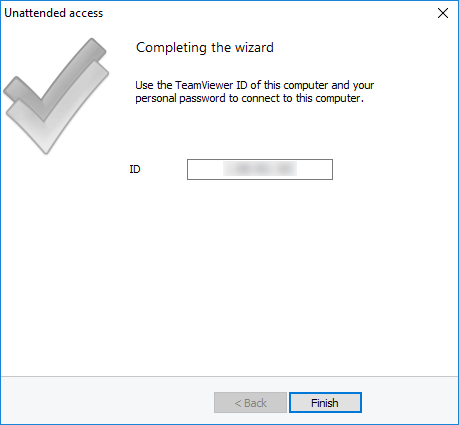
6. For someone or yourself to connect to a TeamViewer connection unattended, simply provide or use the unique user ID and the self-created password.
That’s it! TeamViewer has been setup and configured for remote-desktop sharing. Please be careful on who you provide access to your machine. Only trusted American service technicians should be allowed to access your machine in this matter or those who you know personally.
Uninstalling TeamViewer
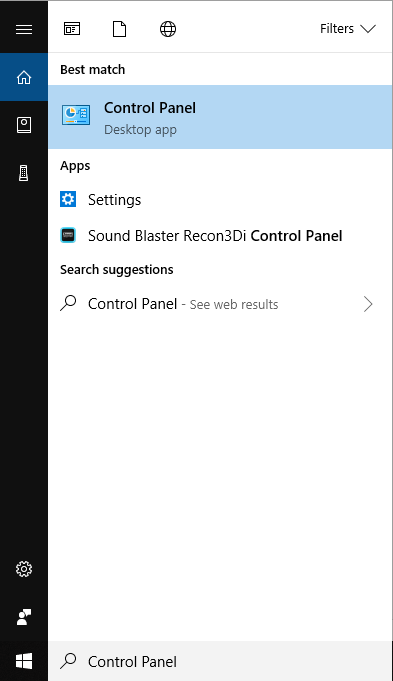
1. To uninstall TeamViewer, click the Start icon in the bottom left of your screen.
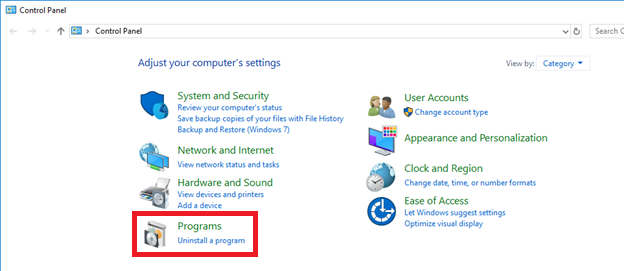
2. In the Search bar, type Control Panel and select Control Panel.
3. Under Programs, select Uninstall a program.
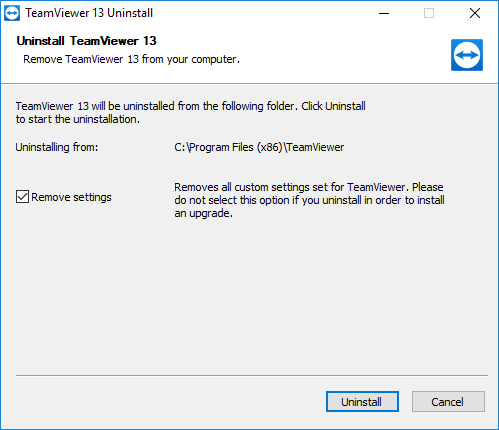
4. Find TeamViewer within the list of applications. Right-click on TeamViewer and select Uninstall.
5. Follow the TeamViewer uninstall prompts.
© 2018 Justin Vendette